


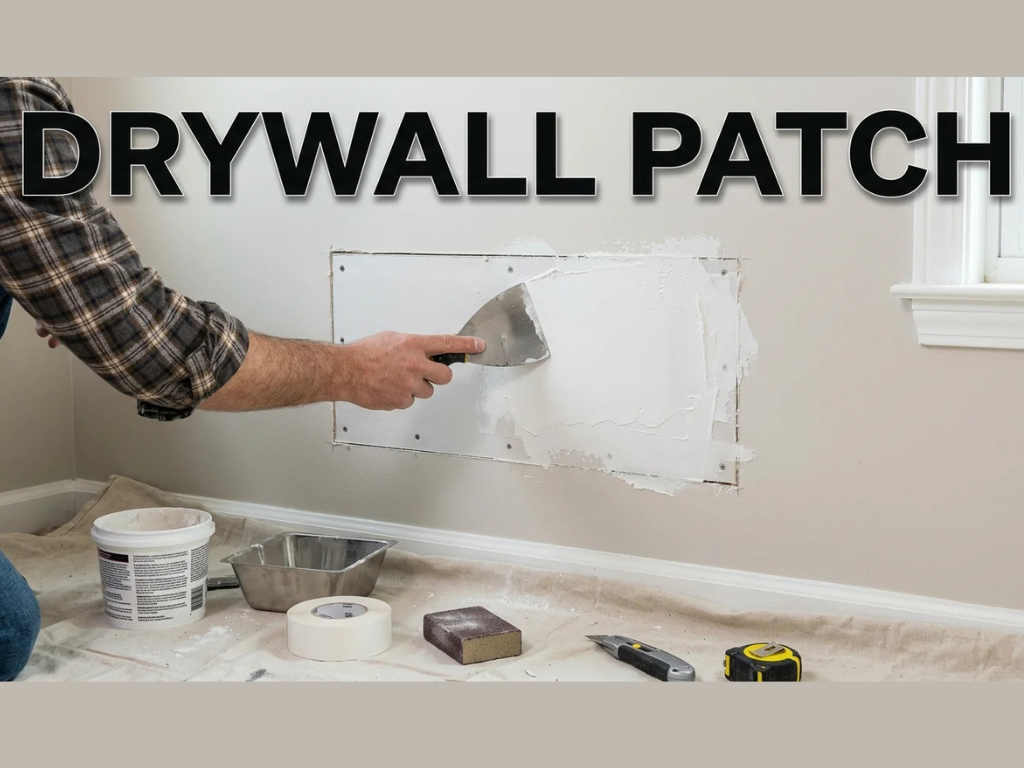
A good drywall patch should disappear once the repaired wall is primed and painted. The method depends mainly on the hole’s size and condition. Small dents need filler, while larger openings need support and new board.
You also need patience during the finishing stages. Thick compound and rushed sanding often leave visible humps around repaired areas. Thin coats, wide feathering, and careful priming usually produce a cleaner result.
Direct answer: To patch a hole, remove loose material, choose a repair method based on size, and secure the damaged area. Cover the repair with thin coats of joint compound, feathering each coat beyond the last. Let every coat dry completely, sand lightly, prime the repaired surface, and repaint the wall.
Quick Drywall Repair Guide by Hole Size
| Damage size | Recommended repair | Main materials | Difficulty |
|---|---|---|---|
| Nail holes and tiny dents | Fill directly | Spackle, putty knife | Easy |
| Small hole up to several inches | Mesh repair patch | Patch, joint compound | Easy |
| Medium opening | California-style insert | Scrap board, compound | Moderate |
| Large opening | Backed panel replacement | New board, backing strips, screws | Moderate |
| Water-damaged area | Remove damaged material | New panel and repair materials | Varies |
The hole’s dimensions should guide your repair choice. A small mesh patch cannot provide enough support for a large opening. Likewise, replacing board for a tiny nail hole creates unnecessary work.
Check the surrounding surface before buying materials. Soft, swollen, or stained board may indicate moisture damage. Correct the moisture source before closing the opening again.
What You’ll Need Before Starting
Most basic wall repairs need only common hand tools. Larger openings require cutting tools and material for supporting the replacement piece. Protective equipment also helps control dust during cutting and sanding.
Gather these supplies before beginning.
- Putty knife or taping knife.
- Utility knife.
- Joint compound or spackling compound.
- Sanding sponge or fine sandpaper.
- Clean cloth.
- Primer.
- Matching wall paint.
- Drop cloth.
- Safety glasses.
- Dust mask.
- Self-adhesive mesh patch for small holes.
- Scrap gypsum board for larger holes.
- Drywall screws for supported patches.
- Wood backing strips when required.
- Stud finder for larger cutouts.
Joint compound works well when the repair needs several feathered coats. Spackling products suit many small dents and nail holes. Follow the product label because drying times and application limits differ.
How to Make a Drywall Patch in 7 Steps
The repair process becomes easier when you separate preparation from finishing. Each stage affects how visible the final repair becomes. Don’t add extra compound just to finish faster.
1. Inspect the Damage and Choose the Repair Method
Measure the damaged area at its widest point. Remove hanging paper or loose gypsum that prevents a flat repair. Check whether the surrounding board still feels solid.
Tiny holes can usually be filled without reinforcement. Small openings often accept a mesh repair product. Medium and large openings need a stronger insert or supported replacement section.
Look for wires, pipes, or other utilities before cutting deeper into a wall. A stud finder with utility-detection features can help locate hidden areas. Lowe’s recommends locating utilities before cutting into walls for medium repairs.
2. Prepare the Area Around the Hole
Trim loose paper with a sharp utility knife. Remove crumbling material without enlarging the opening more than necessary. Wipe away surface dust before applying compound.
A clean edge gives filler and repair materials a better surface to work on. Raised pieces can create bumps beneath the finished coat. Those bumps become harder to hide after painting.
Protect the floor before sanding begins. Fine gypsum dust can spread beyond the immediate work area. Keep the work surface clean between each stage.
3. Install the Correct Patch
For a small opening, center a self-adhesive mesh repair piece over the damage. Press it firmly against the surrounding surface. Make sure every edge sits flat.
A medium opening can often use a California-style patch. This method leaves the front paper wider than the replacement gypsum. The paper becomes a built-in flange around the new piece.
USG describes this method for holes around six inches and smaller. Larger openings usually need backing or attachment to framing. Secure the replacement panel so it cannot move when compound is applied.
4. Apply the First Coat of Joint Compound
Spread a thin layer of compound over the repair. Hold the knife at a slight angle and pull the material outward. Keep the center filled without creating a thick mound.
Extend the compound beyond the repair’s edges. Gradually reduce pressure as the knife reaches the outer edge. This feathering technique helps the new surface meet the existing wall smoothly.
Avoid trying to create the finished surface in one coat. Thick material takes longer to dry and may shrink. Several thin applications are easier to control.
5. Let It Dry and Add Wider Coats
Let the first coat dry according to the manufacturer’s directions. Drying time changes with humidity, temperature, product type, and coat thickness. Never sand material that remains soft underneath.
Apply another thin coat once the surface is dry. Make this layer slightly wider than the previous application. Feather the outer edges until they become difficult to feel.
Some repairs need a third coat for a smooth transition. Wide repairs often look flatter than narrow, heavily built patches. Aim for a gradual transition rather than a raised island.
6. Sand Without Damaging the Wall
Use a fine sanding sponge or suitable sandpaper after the compound dries. Sand only enough to remove ridges and high areas. Excessive sanding can expose tape or damage surrounding paper.
Run your fingertips gently across the surface after sanding. Your hand often detects ridges that are difficult to see straight ahead. Side lighting can also reveal shadows around uneven edges.
USG recommends fine abrasive materials for dry sanding. The company also describes damp-sponge finishing as an option for reducing dust. Follow the compound manufacturer’s instructions for your selected product.
7. Prime and Paint the Finished Repair
Remove all sanding dust before applying primer. Dust can weaken paint adhesion and leave a rough surface. Use a clean, dry cloth or another suitable cleaning method.
Apply primer over the repaired area before adding finish paint. Bare joint compound absorbs paint differently from an already painted wall. Primer helps reduce color and sheen differences.
Match the existing paint as closely as possible. You may need to repaint a wider area if the original coating has faded. Glossy finishes can make surface differences more noticeable under side lighting.
Small Holes Versus Large Holes
Small repairs rely mainly on filler or a lightweight reinforcing patch. They involve less cutting and usually require fewer structural materials. Finishing still matters because poor feathering can expose even a tiny repair.
Large openings require stronger support. A replacement panel should remain stable after installation. Movement along the repair edges can lead to cracking later.
Cutting a damaged area into a clean square or rectangle can simplify fitting. Backing strips can support edges where framing is unavailable. Use a board thickness that matches the existing wall.
How to Get a Repair That Looks Flat After Painting
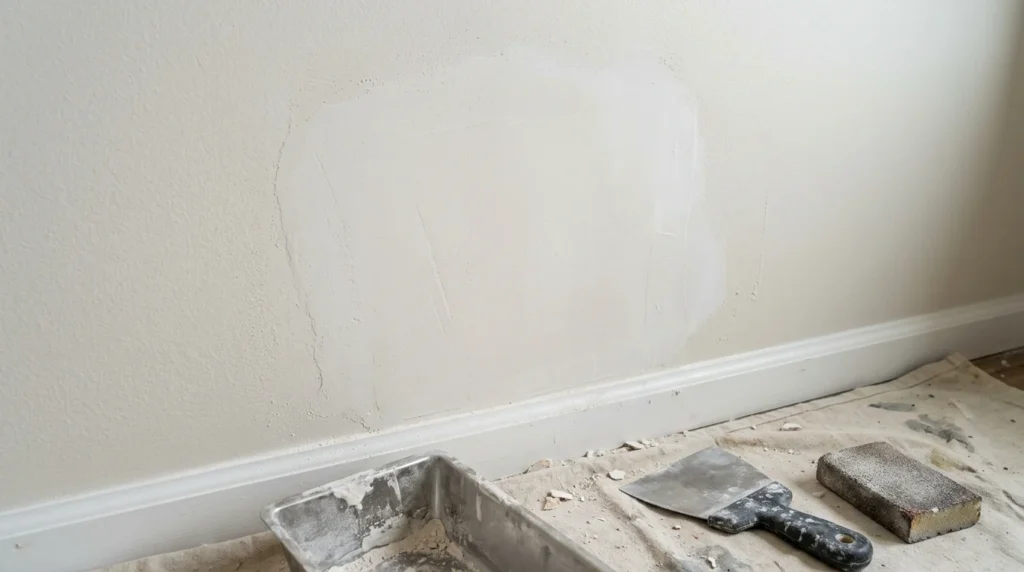
The final appearance depends more on finishing than the insert itself. A strong repair can still look poor when compound ends abruptly. Wide, thin feathering reduces this problem.
Use side lighting while checking your work. Shine a portable light across the wall instead of directly toward it. Shadows will reveal ridges, depressions, and raised edges.
Do not judge the repair only before primer. Primer can reveal small defects hidden by white compound. Fix those areas before applying the final paint.
Texture creates another challenge. Orange-peel, knockdown, and other patterns need matching before painting. Practice the texture on scrap material when possible.
Common Drywall Repair Mistakes
Using too much compound is one of the most common errors. A thick center creates extra sanding and may leave a noticeable bump. Thin coats usually provide better control.
Another mistake involves sanding before the repair fully dries. The soft material can tear or develop grooves. Give each application enough time to dry before continuing.
Homeowners also sometimes skip primer after making a repair. Paint can appear duller over untreated compound. Priming creates a more consistent base.
Watch for these additional problems.
- Choosing a patch that is too small.
- Leaving loose paper around the opening.
- Cutting without checking for hidden utilities.
- Applying compound too narrowly.
- Sanding through repair tape.
- Painting over sanding dust.
- Ignoring a leak behind damaged board.
- Trying to hide major damage with filler alone.
When Should You Hire a Professional?
DIY repair makes sense for many small holes and dents. The work uses inexpensive materials and straightforward techniques. A patient homeowner can often achieve a clean result.
Professional help becomes more useful when damage covers a large area. Ceiling repairs can also be harder because the work happens overhead. Complex texture matching may require more experience.
Call an appropriate professional when damage follows an active plumbing or roof leak. Correct the moisture source before starting cosmetic repairs. Suspected mold or significant hidden damage may require specialized evaluation.
How Long Does a Wall Patch Take?
Hands-on work may take less time than the complete project. Drying between compound coats usually controls the schedule. Temperature, humidity, ventilation, and product choice can all change that timing.
A small repair may need preparation, filling, drying, sanding, priming, and painting. Medium repairs can require several compound applications. Larger replacements add cutting and installation steps.
Don’t rush just because the surface feels dry. Material beneath the surface may still contain moisture. Following the manufacturer’s drying instructions produces a more dependable finish.
Frequently Asked Questions
What is the easiest drywall patch for a small hole?
A self-adhesive mesh product is often convenient for small impact holes. It covers the opening while providing a base for compound. Tiny nail holes may only need spackle.
Choose a product sized larger than the damaged opening. Press the edges flat before coating. Finish with thin, feathered layers rather than one heavy application.
Can you patch a hole without replacing the whole panel?
Yes, many localized holes can be repaired without replacing a complete wallboard panel. The correct method depends on the opening’s dimensions. Larger damaged sections need more support than small surface defects.
Medium openings may accept a California-style insert. Larger holes often need wood backing or attachment to framing. The replacement piece must stay stable before you begin finishing.
Do you need primer after patching a wall?
Primer is recommended before finish paint goes over new compound. Fresh compound absorbs coatings differently from previously painted surfaces. That difference can leave a visible dull spot.
Let the repair dry completely before priming. Remove all sanding dust first. Then paint with a coating that matches the surrounding wall.
How many coats of joint compound does a repair need?
Many repairs need more than one thin coat. The exact number depends on depth, size, and surface flatness. Stop adding compound once the transition feels smooth.
Make later coats wider than earlier ones. Feather each outer edge into the existing wall. Sand lightly after the final layer dries.
Can you repair water-damaged wallboard with compound?
Do not cover soft or wet material with compound. The moisture source should be found and corrected first. Damaged material may need removal rather than surface filling.
Allow the area to dry before rebuilding it. Inspect nearby material for continuing damage. Seek qualified help when moisture or mold extends beyond a simple cosmetic repair.
Final Tips for a Cleaner Wall Repair
A successful wall repair depends on preparation, support, thin compound layers, and patient finishing. Most visible mistakes happen because the compound was applied too thickly. Wide feathering makes the repaired area blend more naturally.
Inspect your work from several angles before painting. Side lighting is especially useful for finding shallow ridges. Correct those defects before primer rather than hoping paint will hide them.
For more household repair and renovation topics, readers can browse NewsHeck’s Home Improvement section. Keep future wall projects simple by saving leftover matching paint. A labeled touch-up container can make later repairs faster and less noticeable.
